Okay so i forgot to take a pic of the vases before i started but i got them from the dollar tree $1 a piece.
1. Glue Ribbon to my vases! I took blue ribbon & wrapped it around the bottom and super glued it, then i done it again right above it to make it wider but u cant even hardly tell.
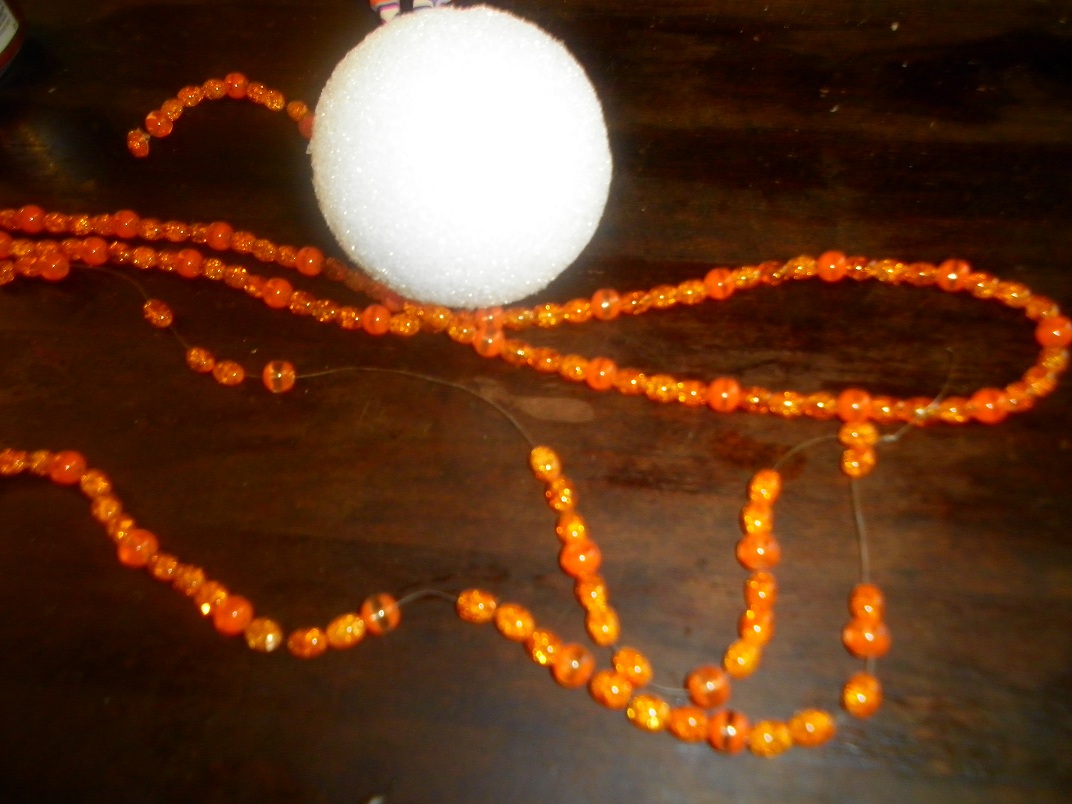
 2. Make Bead Strings.
 I seperated my beads i bought about $2.50 a pack (2 packs) from walmart. i decided how long i wanted my beads to hang in the vase, cut the string and tied knots on each end & super glued the knots so they wouldnt come undone.
3. Glue beads to Ball. I hot glued the bead string into a 3" styrofoam ball (6 pack/$3.67 @walmart). I had one bead off to itself that i could glue into the ball to get it to stay.
4. Decide tissue paper sizes. ive heard of all different sizes to cut tissue paper for pomanders so instead of fighting with it and measuring i just folded it up to a size as close to 5x7 as i could, (thats not how big they turned out) but it was close. so i wouldnt have to worry about screwing up the sizes and they would be all different.
5. Cut them out. i just cut along the creases that i had folded, it takes a few times of unfolding and cutting.
6. Arrange Tissue Paper. i wanted my pomanders to be a mix of blue & orange so i put mine, blue-orange-blue-orange & vice versa.
7. Fold Tissue Papers. Then i folded them like an accordion, u can see better instructions on how to do this in other pomander tutorials.
8. Wrap floral wire around the folded tissue paper accordion. ($1/pack @ dollar tree)
9. Unfold the tissue. i just pulled the tissue up and kinda flared it out, it dont have to be perfect.
10. Glue Paper Flower into Ball. after making enough pomander flowers to finish a full pomander i put super glue on the wire on the bottom of the flowers & stuck them into the styrofoam ball rearanging the tissue paper so no white from the ball shows.
11. Finish Centerpiece! One u cover your ball in your pomander flowers put them on the vases and ta-da! Done!!!


No comments:
Post a Comment