


WARNING: THIS WILL PROBABLY BE A SUPER LONG POST (got lots of pictures.) ANOTHER WARNING: Half of the pictures were taken with a cell phone & the other half a camera so some of the picture's aren't very good quality.
Had a Household shower to go to recently & decided to use my creative gift & make something for the lucky couple! & Ta-Da! My Sunflower Towel Cake was born! Yes Sunflower, Just like my previous craft DIY: Picture Cutting Board that i done for the same shower! Needless to say they loved both of their gifts but this cake was a BIG hit! It's taking so long to post this because it took a while to get around to getting all the pictures on the computer & such! This is a difficult project to explain so sorry if I confuse some of you!
ON TO THE PROJECT!...
SUPPLIES:
-PLATE (to put the actual cake on, i chose a yellow plate to flow with the sunflower theme)
-MEASURING CUP (to wrap the towel around for the smallest & largest tier)
-RIBBON (thick & thin, to match the colors you chose for the cake. for example:yellow, black & white)
-SAFETY PINS & RUBBER BANDS (to hold on the ribbon & towels)
-SCISSORS (to cut the ribbon)
-PLASTIC BAGS like walmart bags (to stuff inside to help it keep its shape)
-3 DISHTOWELS (in colors & designs of your choice)
-CONSTRUCTION PAPER & CARDBOARD (or colored card stock, used to make letters)
-CRAZY GLUE (to glue on the initials)
-MOD PODGE & FOAM BRUSH (I used this only for the sole purpose of getting the construction paper to stick to the cardboard to make it more sturdy, so if your using card stock you probably wont need this)
-FAKE FLOWERS[OPTIONAL] (i cut these & laid them around the plate because it is sunflower themed hellooo? lol)
-UTENSILS OF YOUR CHOICE (this is the fun part because you can mix & match these and put whatever utensils you want, I put those plastic spatula thingy's, wooden spoons, measuring spoons, & a flyswatter. Mix & match you can put spatula's or silverware or whatever you want.)

LETS BEGIN...
1. START WITH YOUR MEASURING CUP ON YOUR PLATE. This is your base. the measuring cup's handle will be on the backside of the cake.

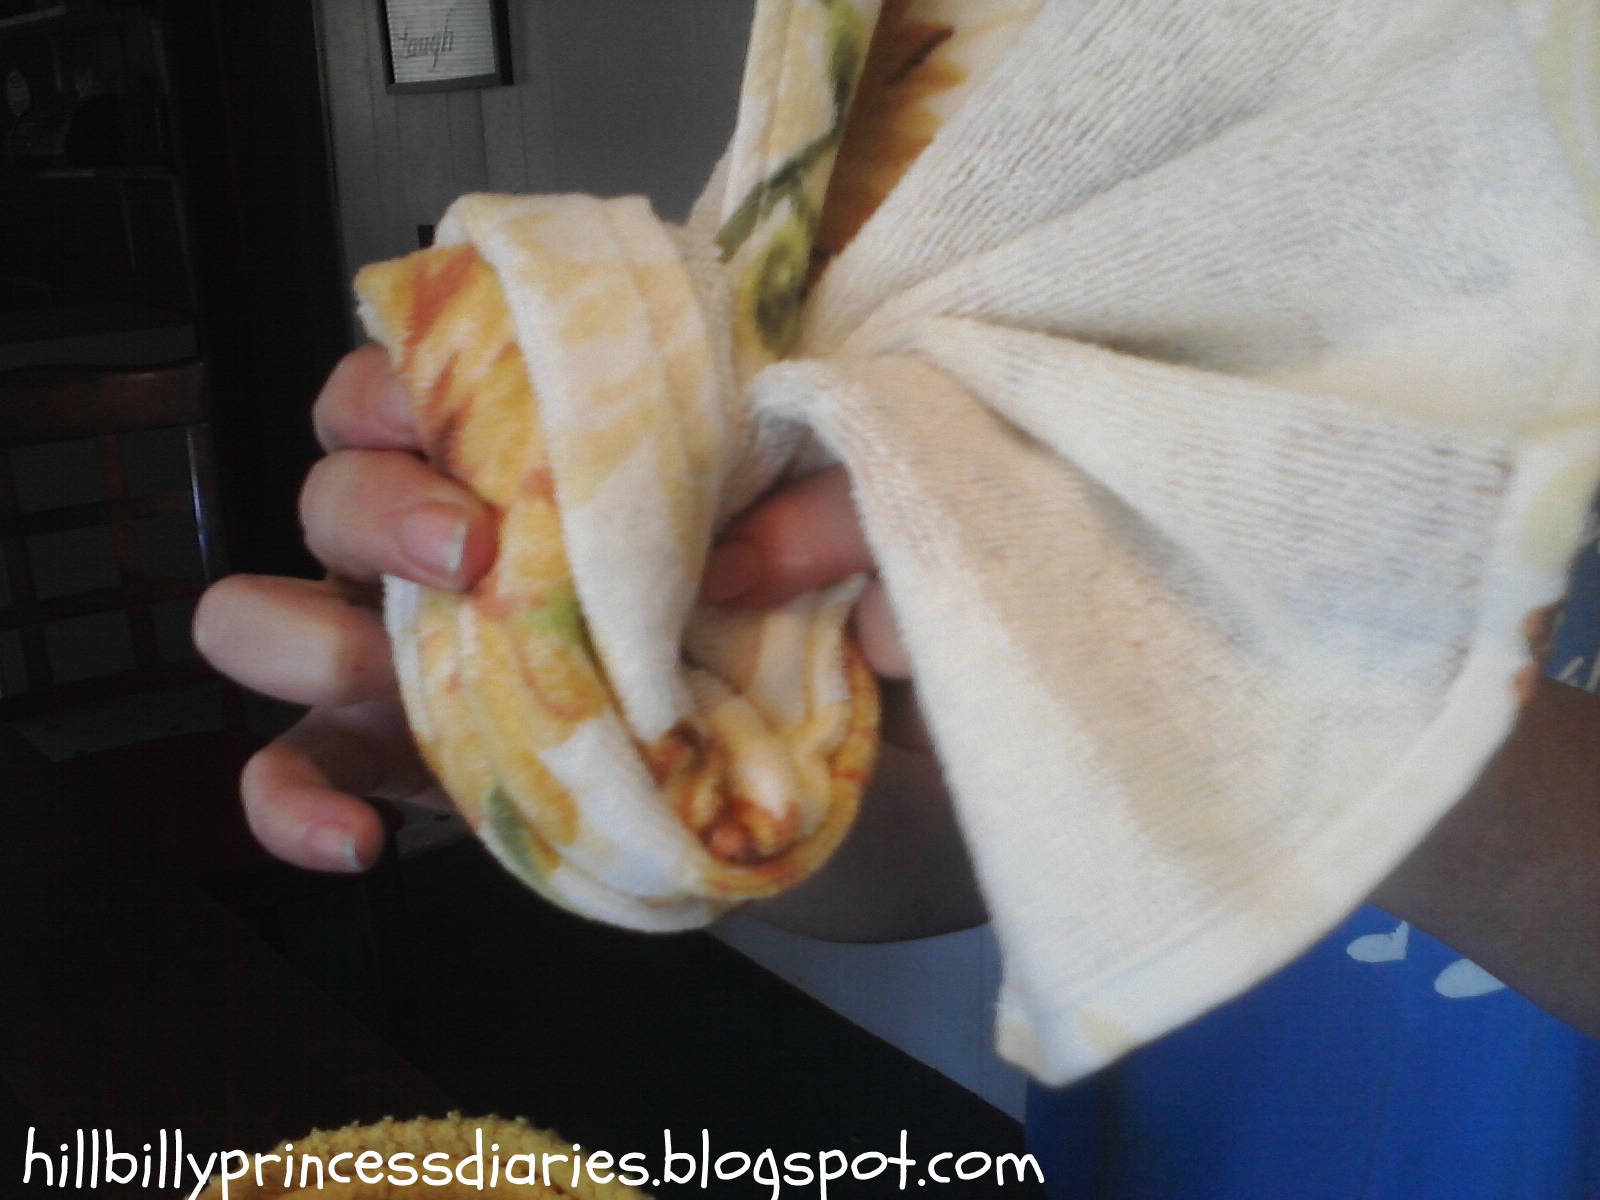
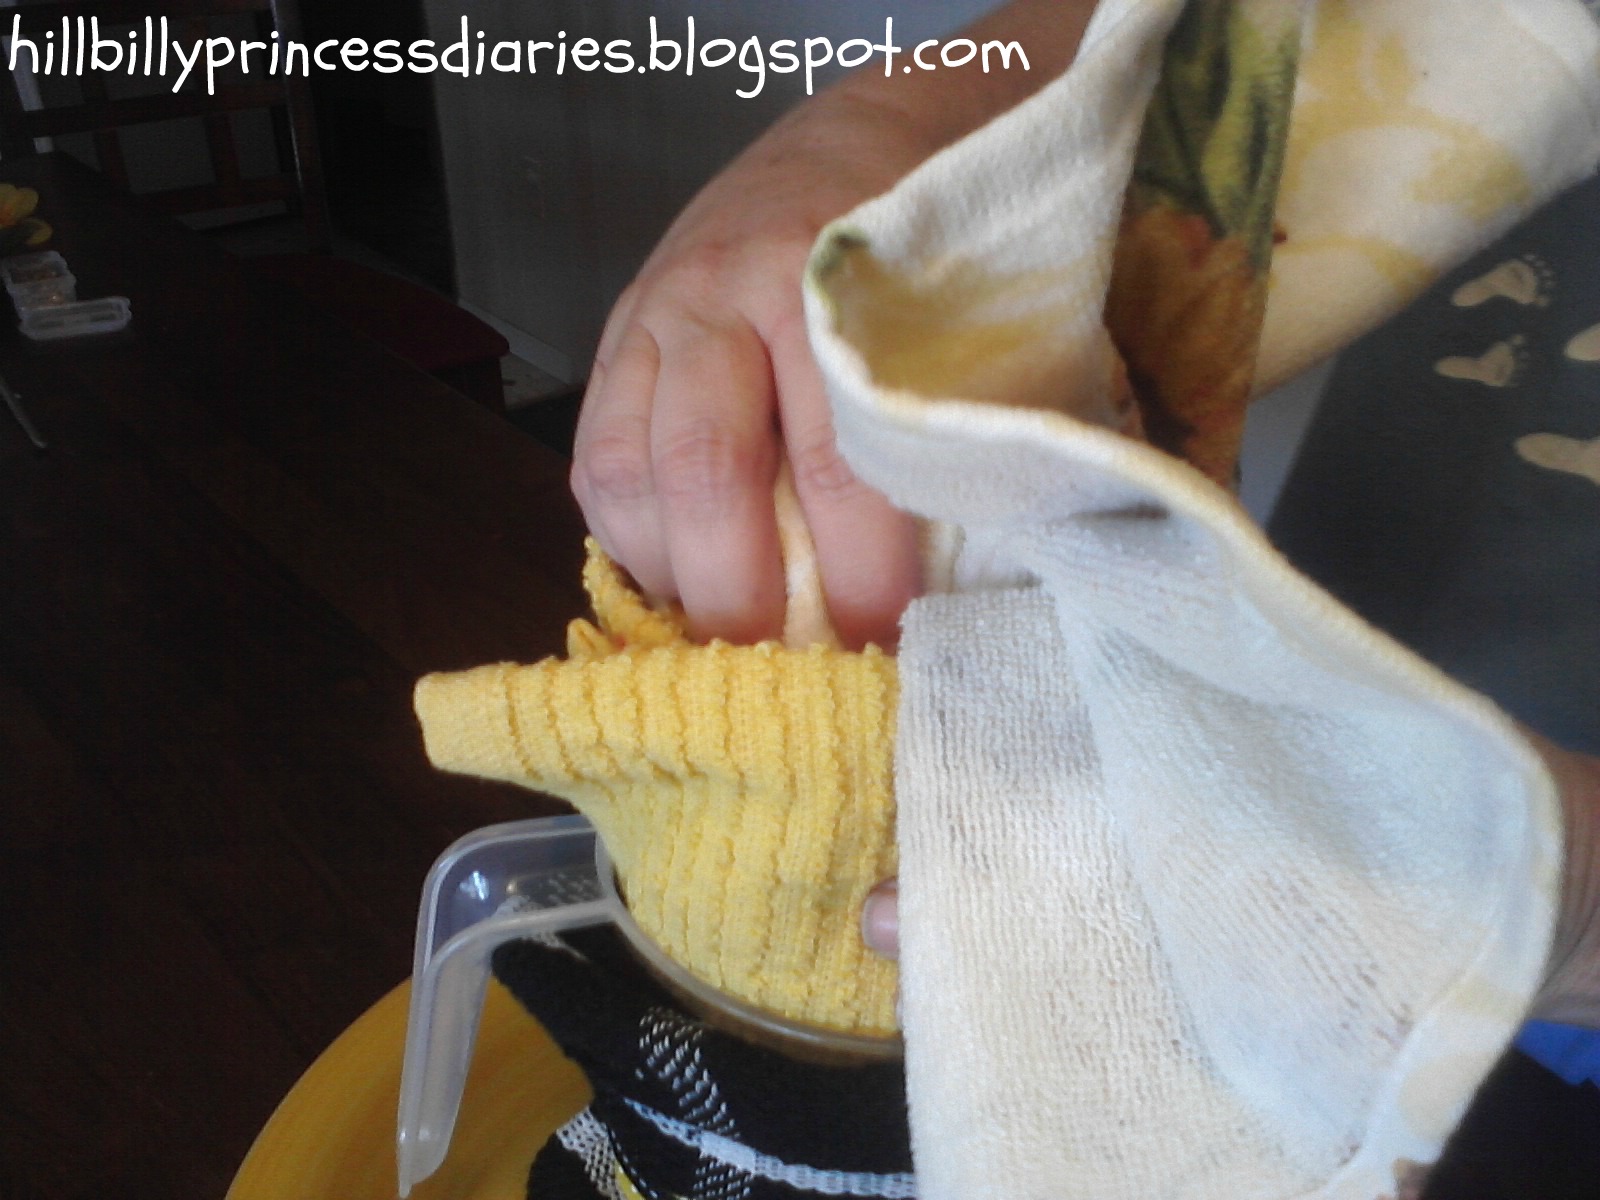
2. WRAP TOWEL AROUND MEASURING CUP. Pick whichever of your towels you'd like.

3. SECURE IT WITH A RUBBER BAND. I put the rubber band in the center because there will be ribbon covering it there and it will be completely concealed.

4. MEASURE THICK RIBBON AROUND THE TOWEL. To see how much ribbon you need I simply wrapped it around the towel and cut where it there was a little extra ribbon at the end that would fold over the beginning of the ribbon.

5. SAFETY PIN THE THICK RIBBON. Pin it where it meets to secure it.

6. MEASURE THIN RIBBON AROUND THICKER RIBBON. Again simply wrap the thin ribbon around the first layer centering it on the thick ribbon and cut it so there is a little extra ribbon at the end that folds over the beginning of the ribbon.

7. SAFETY PIN THE THIN RIBBON CENTERED ON THE THICK ONE. then this side will go on the backside of the cake along with the measuring cups handle.

8. STUFF PLASTIC BAG IN MEASURING CUP. Not in any particular way, nobody will be seeing this part it is just to secure all of the things that are going on top not to fall all the way down into the cup.

9. MAKE THE NEXT TIER! To do this we rolled a plastic shopping bag up and took the second towel and rolled it up in it. Then we stuck it in measuring cup, Wa-Laa the second tier is made!!


10. FAN FOLD THE 3rd TOWEL. I saved the towel with the designs for this one, We laid it out & folded it like a fan flipping it back & forth. Then after it is fan folded we folded it again in half. THEN we fold it again but this time we are taking the bottom and folding it over to make it thick enough to support the fan looking part. Then stick this part down in the top of the second tier so the fan is hanging out of the second tier.


THIS IS WHAT IT SHOULD BE LOOKING LIKE SO FAR....

11. MAKE INITIALS. This of course is optional but I thought it would be such a cute touch, I drew out the initials of the people I was making the cake for on construction paper. D & E. I then taped the construction paper onto a piece of cardboard. (i just used the back of a packaging that some of the utensils come in.)

12. CUT INITIALS out of the paper & cardboard after taping them together, the cardboard is to make the initials more sturdy.


13. MOD-PODGE CONSTRUCTION PAPER TO CARDBOARD. so the construction paper is all you see but it's sturdy like cardboard.


14. CRAZY GLUE INITIALS TO RIBBON. I just dabbed crazy glue onto the back center of the letters & stuck it to the front center of the ribbon on the cake. Hold it a few seconds til it dries enough to hold up.


THIS IS WHAT IT'S LOOKING LIKE NOW!!

15. OPTIONAL-I PUT MY FLY SWATTER IN TO BE LIKE A TOPPER! I just stuck it in the middle of the top tier so it's sticking up out of the top.

HERE'S WHAT IT LOOKS LIKE.

16. USING THICK & THIN RIBBON MAKE A BOW! I folded the thick ribbon a few times over-top itself, after cutting a small strip of the thin ribbon, I held the center of the thick ribbon & wrapped the thin ribbon around it. I tied it in a knot on the back. BAM! A BOW!


17. ATTACH BOW TO CAKE! I pushed a safety pin through the back of the bow through the thin ribbon & attached it to the front of the cake!

THIS IS WHAT IT LOOKS LIKE!

18. FILL WITH UTENSILS. This is the funnest part, sticking spoons & spatulas & etc all over sticking out of every which way!

19. CUT & PLACE FLOWERS. We cut up a $1 bunch of sunflowers bought from dollar tree & just stuck the flowers around the bottom of the plate & in random places sticking out of the towels like the utensils.

WA-LAAA!!!
CLOSE UPS!


This was a HUGEEE hit! They loved it so much they refused to even take it apart, it is now their centerpiece! Hope this wasnt too confusing for you all!!

No comments:
Post a Comment